
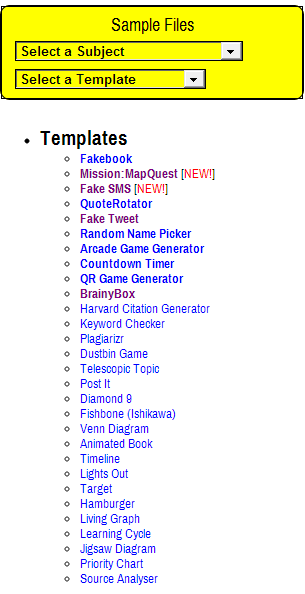
 There are those sites online which I consider a treasure trove, offering multiple applications free of charge for educators and students. Less than two weeks after I explored the latest item, SMS Generator, offered at ClassTools.net, created by Russel Tarr, Head of History at the International School of Toulouse, France, and also host of Active History, this news appeared in my Twitter feed followed by a couple of additional exchanges.
"Mission MapQuest": A new ClassTools game creation template, feedback welcome! classtools.net/mapgame/33_2hQ… #geographyteacher
— russeltarr (@russeltarr) March 26, 2013
@russeltarr Is it available to review or is it still in a testing phase?
— Margie Myers-Culver (@Loveofxena) March 26, 2013
@loveofxena Feel free to review! I've been testing it for a week or two so I don't think there are any bugs or anything!
— russeltarr (@russeltarr) March 26, 2013
When users select Mission: MapQuest they are taken to a screen offering them the opportunity to explore a previously created Mission: MapQuest or begin generating one of their own. Having explored a sample when the tweet was first posted I decided to start designing one of my own. With that choice made a new window opens inviting you to enter in

 At the next window (superimposed over a world map) you type in your instructions and give your treasure hunt a name. Click next to type in your first question and answer. Once you have typed in the answer (location) the world map shifts to that point on the map placing a spinning gold coin on the spot. When choosing your location you do have the choice of all, establishments or geocodes.
 Each time a set (question/answer) is entered in the spaces provided the user can go back to edit a previous step, delete a step, reorder the steps, play the game or save it. To reorder the steps just click and drag an item to a new position and select done. After you choose save you are prompted to enter in a password so you can edit your hunt at a later date. When this task is completed a unique URL is assigned to your Mission: MapQuest.
  As soon as you've noted that new address and click OK, a new screen appears. This screen is where you can play your game. Choose Get Started! to begin.
 The instructions you previously typed in open over the beginning of the game. (They also can be viewed on the Get Started! screen.) Click OK when you have completed reading them. You are then prompted to type in a name for the leaderboard.
With your name chosen the first question with further guidelines appears on the screen. The difficulty in finding the gold coins and visibility are given. You can accept this mission (question), advance to the next one or go to the previous clue.

At the next window you can enter in your answer and zoom in to get the gold coins per status in the location box. You are given your current zoom and the minimum amount needed to get to your target. Your percentage of the mission accomplished is shown. From this point you can go to the leaderboard, too.
 Above the answer box are three black tabs. Left to right they indicate the ability to edit the game by providing the correct password, view the instructions again or choose a new (clue) mission.
In doing so a congratulatory window opens followed by the next clue's appearance. Proceed until you have correctly completed the treasure hunt. You can then go home or to the leaderboard.
 At anytime during play you can click on the Share this MapQuest or Create New button in the lower right-hand corner. URL link, QR Code or Download Web Shortcut are your sharing options. Here is the URL link to my treasure hunt titled Tracing Balto's Life. Below is the QR code image which will take you directly to the game.
These templates at ClassTools.net designed by Russel Tarr simply get better and better. Being able to use Mission: MapQuest without registration at no cost opens it up to considerable possibilities in the classroom. Students could work in teams or individually conducting research necessary to design a treasure hunt. If there is any kind of geographical journey in a fiction or nonfiction book they have read, this offers them the opportunity to create a response combining what they know with technology skills. I give high marks to Mission: MapQuest.


